When it comes to construction, safety and preparation go hand in hand — and scaffolding sits right at the heart of both. You can’t build, repair, or renovate efficiently without proper access, and that’s exactly what scaffolding provides: a safe, secure platform that lets you work confidently at height.
But scaffolding isn’t just about putting poles together. It’s a system that relies on balance, design, and care. A scaffold that’s erected correctly not only supports your work but also protects lives. A single mistake in its setup can lead to instability, delays, or serious accidents.
This guide walks you through everything you need to know about how to erect scaffolding the right way. You’ll learn how to plan ahead, prepare your site, build the structure safely, and keep it in top condition from start to finish. Whether you’re supervising a project, managing a team, or simply want to understand the process, this post gives you the knowledge and confidence to do it safely and efficiently.
Preparing for Erection
Before a single pole goes up, preparation is key. Every strong scaffold begins with a clear plan, a well-organised site, and the right materials. Skipping this stage might save you a few minutes today, but it can cost you safety and stability tomorrow.
Planning and Site Assessment
Start by inspecting your site thoroughly. Look at the surface conditions, nearby obstacles, and how much space you have to work with. Uneven ground, soft soil, or limited access points can all affect how and where you erect the scaffold.
You’ll also need to decide what kind of scaffold best suits your project. A domestic roof repair may only need a small supported structure, while a commercial building might call for a modular or suspended system. Factor in height, load, and duration — these influence the design, type, and materials required.
It’s also smart to map out pedestrian routes and vehicle access early on. You don’t want to erect a scaffold only to realise it blocks a doorway, emergency exit, or delivery zone.
Design and Material Procurement
Once you’ve assessed the site, turn your attention to design and materials. Always choose components that meet British Standards and are compatible with each other. Avoid mixing systems from different manufacturers unless they’re designed to work together.
Quality control matters. Check every tube, fitting, and board for damage before use. A single weak joint or warped board can compromise the structure. Organise materials on site before starting, keeping heavy items close to the base and lighter components higher up for easy access during erection.
Good planning doesn’t just make work smoother — it reduces risks. Every scaffold should be designed or checked by a competent person to ensure it meets the load, height, and environmental conditions it’ll face.
Site Set-Up Before Erection
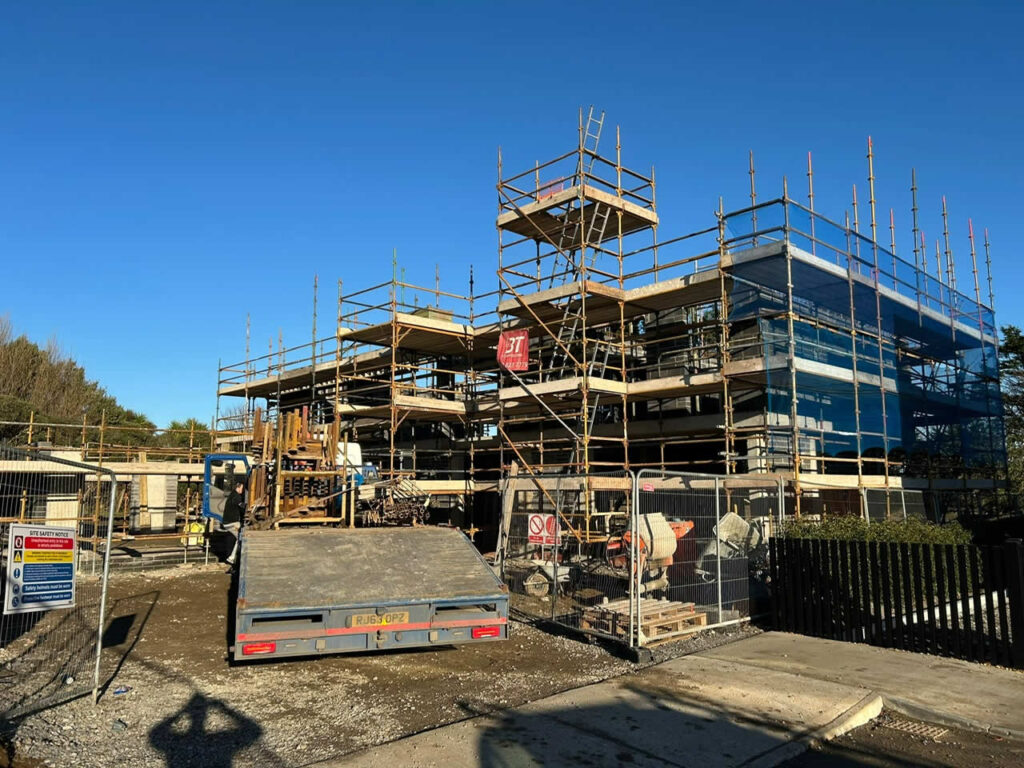
Before the first component is assembled, clear the area of debris, equipment, and people. The working zone should be cordoned off with warning signs and barriers to prevent unauthorised access.
Make sure the ground is stable and level. If the soil is soft or uneven, use sole boards beneath the base plates to spread the load evenly. Double-check that nearby drains, cables, or manholes won’t interfere with stability.
When your base is solid, and the site is tidy, you’re ready to begin the erection process safely and confidently.
The Erection Process Step by Step
Building scaffolding isn’t complicated once you understand the sequence, but following each step precisely makes the difference between a safe, strong structure and one that’s dangerous.
Building the Foundation
Every scaffold starts with its foundation. Place sole boards on firm, level ground to distribute the weight evenly. On top of those, position the base plates, ensuring they sit flat and stable.
Check the alignment of your standards (the vertical tubes). These form the main support columns, so they must be plumb — that is, perfectly upright. Secure them firmly into the base plates and make sure they’re spaced correctly according to the scaffold design.
Take time here. A misaligned or uneven base will affect every part of the scaffold above it. A quick check with a spirit level can prevent major problems later.
Frame and Structure Assembly
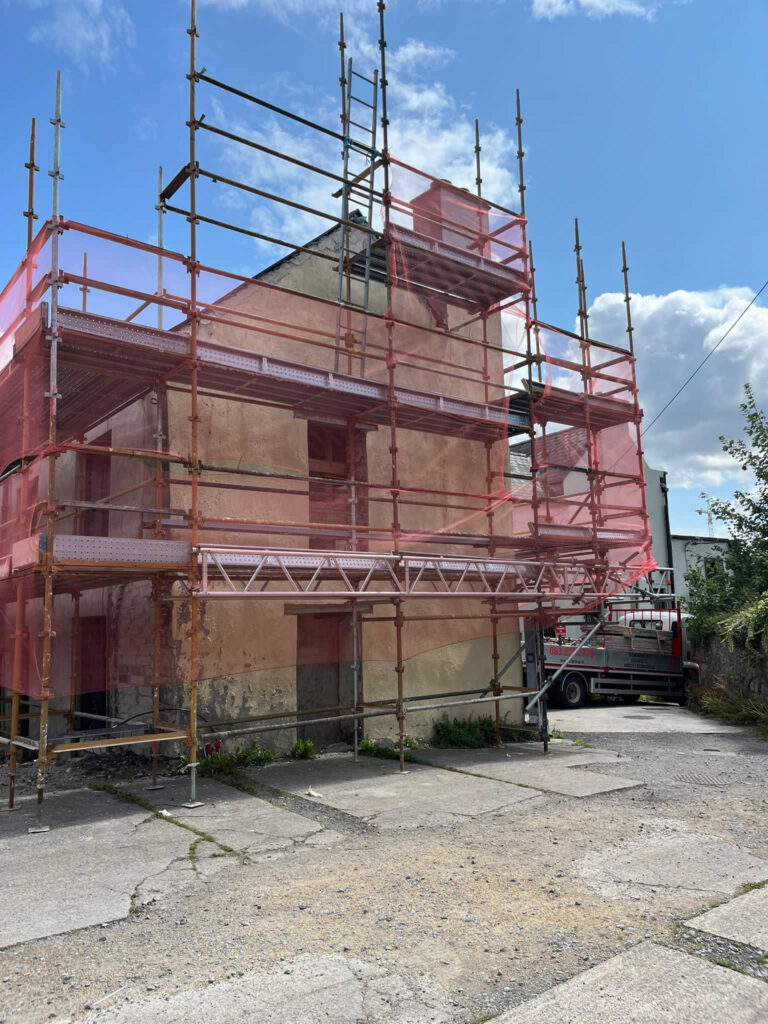
Once the standards are in place, it’s time to connect them using ledgers (horizontal tubes) and transoms (cross tubes). These create the framework that supports your working platforms. Start at the lowest level and work your way up gradually, maintaining symmetry and balance as you go.
Add bracing diagonally across the structure to prevent sway and twisting. Each section should be securely fastened using quality couplers that meet current UK standards.
As the scaffold grows, tie it to the building at regular intervals. This keeps it stable and prevents movement under load or wind pressure.
Platform, Guard-Rails and Decking
Once the framework is complete, lay the scaffold boards across the transoms to create the working platforms. Boards should be in good condition, correctly supported at both ends, and free from splits or rot.
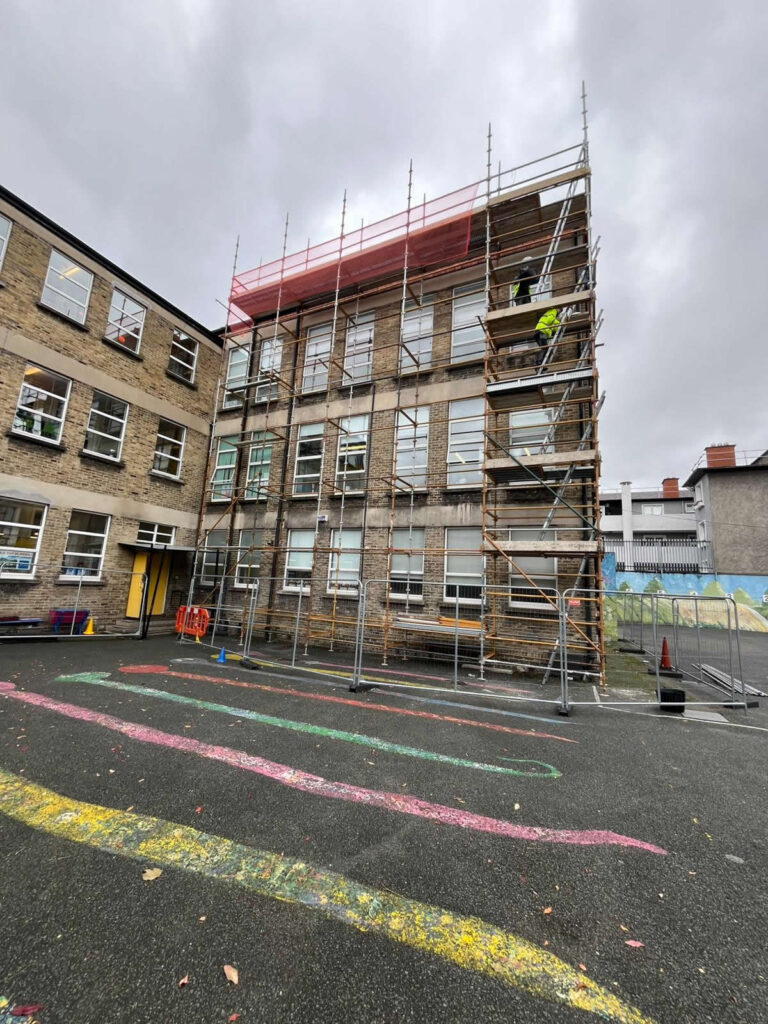
Install toe boards and guard-rails to protect workers from falling tools or accidental slips. These safety barriers must be secure, continuous, and at the correct height.
Finally, add safe access points such as ladders or stair towers, ensuring they’re properly fixed and free from obstruction. Access should always be convenient and safe — never rely on makeshift climbing.
Finishing Touches and Load Assessment
Before declaring the scaffold ready for use, inspect every joint, connection, and fitting. Make sure all couplers are tight and platforms are level.
Next, confirm the load capacity. A scaffold designed for light work (like painting) won’t safely hold bricks or heavy materials. Load limits should always be clearly marked and communicated to everyone on site.
Once the inspection is complete, the scaffold is ready — sturdy, stable, and safe to use.
Choosing the Right Type of Scaffolding for Your Job
Not all scaffolds are created equal. The right system depends on the task, environment, and duration of the project.
Fixed vs Mobile Scaffolding
Fixed scaffolds are anchored to the ground or building, making them ideal for longer-term or heavy-duty projects. They’re solid, reliable, and designed for stability under load.
Mobile scaffolds, on the other hand, are fitted with wheels or casters, allowing you to move them quickly between areas. They’re perfect for light, short-duration jobs like decorating or electrical work — just remember to lock the brakes during use to prevent movement.
Supported, Suspended and Cantilever Systems
Supported scaffolds rise from the ground and are used in most construction settings. Suspended scaffolds, however, hang from the top of buildings using ropes or chains, ideal for high-rise maintenance or window cleaning.
Cantilever scaffolds are used when the ground below is unsuitable or restricted — for example, over busy walkways or fragile surfaces. They’re supported by horizontal “needles” projecting from the building.
Each has unique advantages, so your choice should always match your site’s challenges and layout.
Modular vs Tube-and-Fitting Systems
Tube-and-fitting scaffolds are traditional and versatile. Built piece by piece, they can adapt to almost any shape or height, making them ideal for complex or irregular structures.
Modular systems, such as Cuplock or Ringlock, use pre-fabricated components that connect quickly and easily. They save time on assembly, offer consistent strength, and are great for larger, repetitive projects.
If speed and efficiency matter most, modular might be your best option. But if flexibility and adaptability are key, tube-and-fitting scaffolding is hard to beat.
Safety, Inspection and Best Practices
A well-built scaffold is only safe if it’s maintained properly. Daily checks and ongoing inspections are crucial to prevent small issues from turning into big problems.
Daily Inspection Routines
Every day before use, a competent person should inspect the scaffold. They should check that all ties, braces, and guard-rails are secure, that boards are firm and level, and that access points remain safe and unobstructed.
Inspections must also happen after any alteration, severe weather, or if the scaffold has been unused for a while. Always keep a record of each inspection — it’s both a legal requirement and a safety necessity.
Common Mistakes and How to Avoid Them
Many scaffold accidents happen for the same reasons: removing ties too early, overloading platforms, or neglecting inspections. Others stem from uneven foundations or using incompatible parts.
Avoid these mistakes by sticking to your design plan and never cutting corners. Every bolt, board, and brace plays a role in overall stability — treat them with the same care.
Encouraging a Safety-First Culture
Safety is everyone’s responsibility. Make sure your team understands the risks and follows the correct procedures. Encourage open communication so that if anyone spots a problem — however small — they report it immediately.
Provide regular training and refresher sessions. Even experienced workers benefit from updated guidance and safety reminders.
Dismantling and Maintenance
Taking a scaffold down safely is just as important as erecting it correctly. Dismantling should always happen in reverse order — remove boards first, then braces and ledgers, keeping the structure balanced throughout.
Store all components properly and inspect them before reuse. Clean, well-maintained equipment not only lasts longer but ensures your next scaffold is just as safe as your last.
Our Final Say
Erecting scaffolding the right way isn’t just about building a temporary structure — it’s about building trust, safety, and efficiency into every job.
When you plan carefully, prepare your site, and follow the correct steps, you create a workspace that’s strong, stable, and reliable. You protect your team, your project, and your reputation.
Every scaffold tells a story about the people who built it — whether they took shortcuts or whether they took pride in doing it right. So take the time, follow the process, and build something you can stand on with confidence.
Because the right scaffolding doesn’t just support your project — it supports your success.